Brush for nail gel extensions: how to choose?
Nail extensions are a whole process that requires a lot of attention and of course to create them, you need a range of materials. Any nail extender faces in his work with the need to choose the right tools, but there are so many of them, and it is difficult to make the right choice and not to make a mistake.
In this article we focus on one of the not insignificant tools for nail extensions - gel brushes. In this article we will tell you what they are and what you should pay attention to when buying them.
Gel brushes - what are they made of?
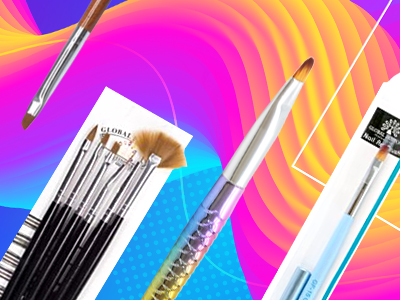
A gel brush consists of a handle, a metal part and a hair bundle. The handle can be plastic, wood or metal. It can be long or short. Each craftsman chooses these characteristics at his or her own discretion. The main thing is that it should not be heavy, not slip and not get dirty. Handle must be ergonomic and easy to grip. Metal part of the brush must be tightly connected to the hair bundle and the base of the brush. Ideally it should be seamless. The hair bundle must be thin and sharp, and all the hairs must fit together well. Brushes can be round, oval or flat depending on the thickness of the tuft of hair. Flat brushes are the most commonly used for gel nail extensions. View brush
Brushes can be:
Natural - usually made of columnar or sable wool. Natural brushes also have a longer lifespan.
Artificial brushes made of high quality materials like nylon. Such brushes are suitable for beginners.
By shape, thickness and length of pile:
1 is the tool with the shortest and sparsest pile.
12 is the thickest of all the brushes.
Modelling brushes are brushes which are the main tool for a master in creating the architecture of the nail, giving its shape, natural curvature, forming the stress zone (this is the area at the border of the natural and artificial nail which requires additional strengthening).
Gel brushes. Different kinds of brushes
Gel brushes. The brushes are predominantly square or rectangular, flat and have stiff hair. They come in synthetic or natural colours. The combination of these factors makes it possible to work comfortably with biogel when covering the nails and to model easily the viscous gel nails during the nail extension process. The gel brushes are made of elastic synthetic fibres that allow a completely smooth working surface thanks to their capillary properties.
All gel brushes can be differentiated according to their shape:
- square
- rectangular
- angled - used for creating the smile for French extensions.
- oval - Ideal for creating French extensions and applying gel to the cuticle area.
- pointed.
- rounded.
Gel brushes are numbered from 1 to 12 according to their size: 1 is the smallest (for design) and 12 is the largest.
How to choose a brush
Many young artists think that any brush will do. But it's not so! Take care when choosing a brush as it affects the success of the work and customer satisfaction.
New brush is coated with factory glue, the first time you use it you must clean it thoroughly, all hair must face the same way and not stick out, and the tip must be sharp and distinct. When selecting a brush you should also pay attention to the metal rim of the brush. It should fit snugly around the hair bundle and the handle, it should not be loose and preferably it should be one-piece (without a joining seam). For gel nail extensions, synthetic pile brushes are mostly used. The most suitable brushes for such a viscous material are flat synthetic ones with hard and elastic hair. The stiffer the hair, the less likely it will be to be uneven and other imperfections in modelling. Handle of brush should not be too long or too thick, it should not slip in your hand. Your brush has to be comfortable so you don't tire your hand for too long.
Brush care tips
To keep your brushes in good condition and to get the most out of them, here are a few simple brush care tips:
1. Never leave your brushes in direct sunlight or in a UV lamp.
2. Clean your brush with a special cleanser after each session.
3. Use the brush only for its intended purpose, as anything else can cause the hair to fall out of the brush or it can become deformed, making it difficult to keep it in good condition.
4. Do not leave the tool in water, even for a short period of time, as this may also damage the shape of the work area
5. Avoid leaving paint on the brush. Paint and varnish remover is the only way to wash it afterwards, but it has a bad effect on the hair - it becomes stiff and unruly, which is unacceptable when designing.
6. Use a smooth material for the palette (e.g. gloss), this will help keep the lint in, otherwise it may rub off
7. Brushes should be dried naturally, with the hair facing down.
How to store brushes
There are a few general storage recommendations which help to keep the shape for a long time. But it's worth mentioning that the durability of a brush depends on the quality of the brush itself
- All brushes should be stored horizontally. Excellent solution is to have a special organizer, where each brush has its own place.
- Do not cap damp brushes as this might cause them to lose their shape or even a few hairs.
Make sure that the storage area is large and well ventilated.
- brushes should be stored in a sturdy pencil case or small plastic container to prevent their premature deformation.
We hope that our article was useful to you and that it will serve you well in the future.
Read also:
1. Shapes for nail extensions. Evertything you need to know about them
2. Which manicure suits you?
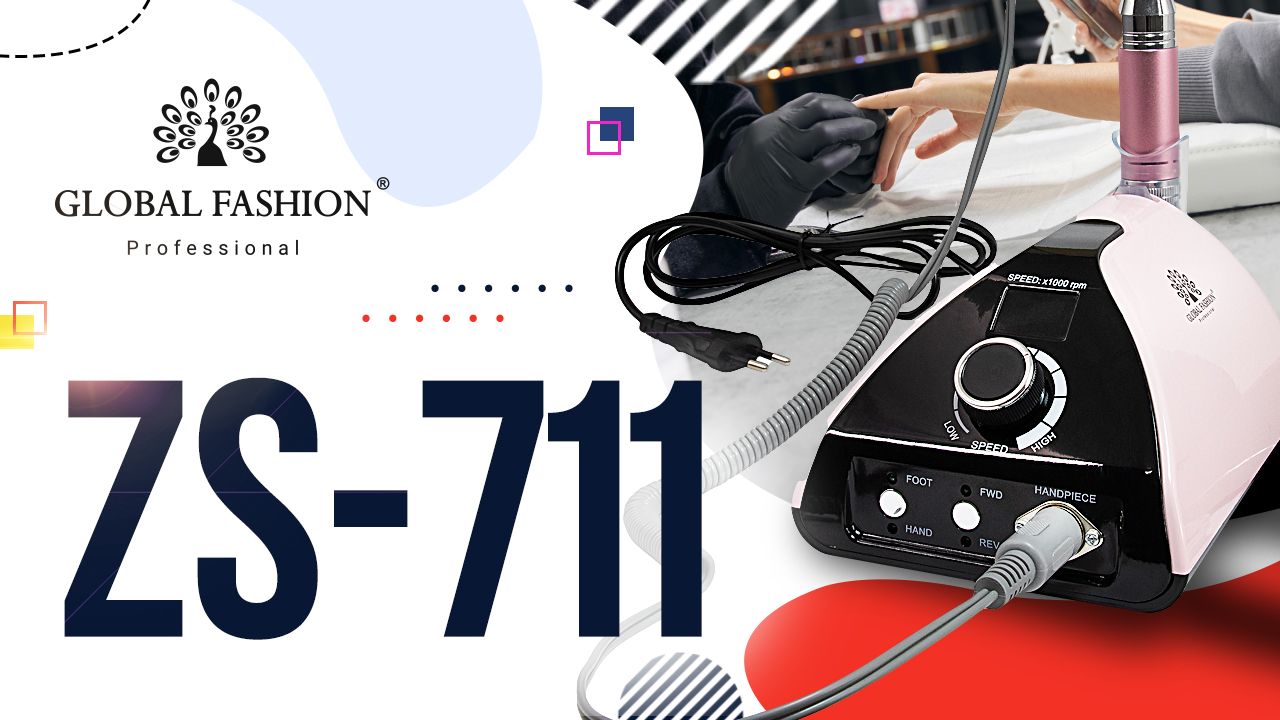
3. Manicure router. Manicure art helper
4.Hhow to choose a manicure lamp? Let's understand the nuances!
Published: 24.03.2022 14:24
Times Read: 4372
