Shapes for nail extensions. Everything you need to know about them
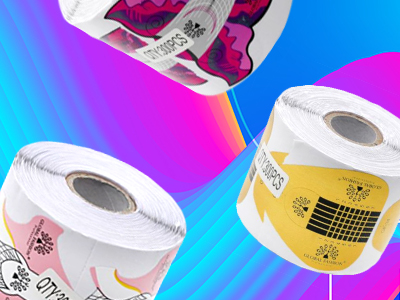
Nail extensions are a process that is in great demand in the beauty industry. It is a procedure that does not do without the necessary tools and materials, among which a special place belongs to the extension forms.
In this article we will help you to put all the points above «i», try to understand what are the forms for building-up, their types, advantages and disadvantages.
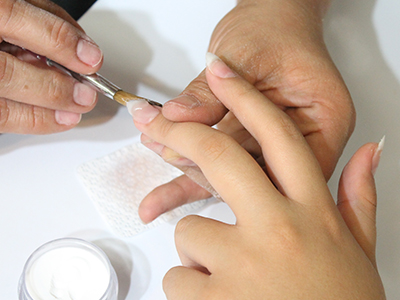
The forms for nail extension are special templates or stands, which are used for laying the artificial nails by gel or acrylic. With their help, it is very convenient to place the modeling material on a natural nail, creating the desired length beyond the free edge.
Types of nail extensions
Nail extension moulds are commonly classified into two categories:
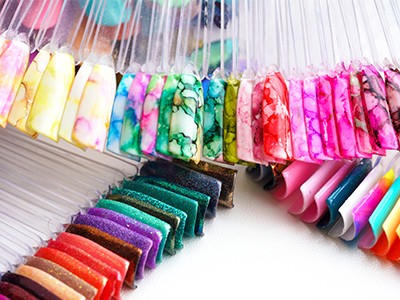
Disposable. They are created from softer materials, easy to fit even the most irregular nail plates. Paper, flexible plastic or foil is used as the material for disposable designs. The moulds are attached under the free edge of the nail bed, and the gel or acrylic is applied over the construction. The mould material is very plastic, making it very easy to work with. Depending on the material used to make the disposable molds, they come in:
- paper forms with metal or polymer applied to the contact layer.
- moulds based on metal foil.
- plastic or polymer based (sometimes transparent, which is very convenient for modelling and design).
- as well as a combination of all the above forms.
Reusable. The reusable moulds are made from hard, crush-resistant plastic. They are easy to use and make the modelling process easier. Reusable templates are more expensive because they are made of high-quality materials and can be used many times. It is worth noting that when using reusable templates, they must be sterilised after each use. There are two types of reusable molds in terms of how they are built up:
- bottom moulds.
- top molds.
Bottom extensions
When using the lower moulds the technician is able to create any shape of nail. Starting with a clear square nail, ending with elongated sharp tips. Using the bottom forms gives craftsmen the opportunity to show their imagination and create an artificial nail of any shape and length. The lower forms are used in the following steps:
1 step. The treatment of the hands and the nail plate of the natural nail is performed. The client's hands are treated with a disinfectant, the nails are degreased, grinded with a special file with medium abrasiveness, covered with a primer (dehydrant) and allowed to dry.
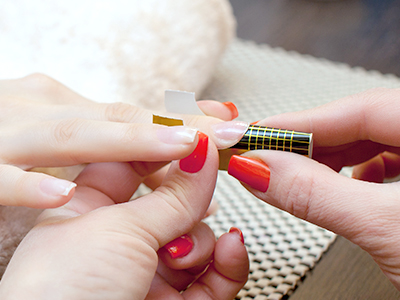
Step 2. The insertion of the form to the free edge of the nail plate. To do this, the mold is placed under the free edge of the nail and fastened on the finger. It is important that the mold is mounted evenly, without gaps. In case of an uneven location, the material used will fall into the gaps and the surface of the artificial nail will be uneven.
Step 3. When the lower moulds have been applied to each nail, the technician can start the build-up. When working with moulds, either acrylics or gel is generally used. Both materials come into perfect contact with any kind of molds and tips for extensions and are evenly adhered to the surface.
Top mold extensions
Top molds look similar to nail extension tips, but there is a significant difference between the two materials. While the tips are used during the extension and remain on the nail, the reusable top molds are removed at the end of the extension procedure. The top molds are extended in the following steps:
Step 1. The nail surface is prepared. The nails are degreased and polished.
Step 2. After the necessary procedures, the shape is chosen according to the size of each nail. The material (acrylic or gel) is evenly applied on the inside, evenly applied on the inside of the nail and pressed down firmly.
Step 3. When the material is fully cured, the molds should be carefully removed. The surface is left with just a few trims and the required shape of the nail.
Advantages of using nail extension moulds
- The possibility to create different and unusual nail shapes.
The client's own nails are nicely trimmed, which makes them look slim and graceful.
- The nails do not look flat, because the structure of the nail plate is built up.
- By using the top templates, the stress zone is correctly shaped and it is possible to make a uniform arch on all nails.
- With the help of the moulds, nail extension becomes a simpler procedure: the gel is less likely to spread on the nail plate and it is easier to shape the nails.
- This technique leaves much less margin for error, and the result is almost always excellent.
Shapes of permanent nails
There are quite a few different forms of false nails. The main forms of false nails are the following:
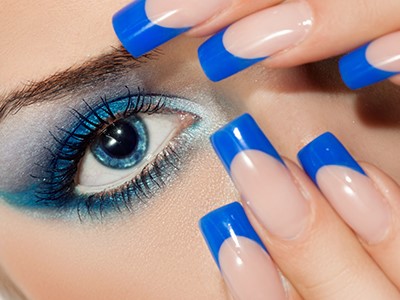
1. The «square» shape is characterised by parallel side lines of equal width along the entire length of the nail and a straight tip with sharp corners on the edges. An ideal solution for a French manicure. However, this shape is more stable just in the case of artificial nails, because natural plates often break in the corners.
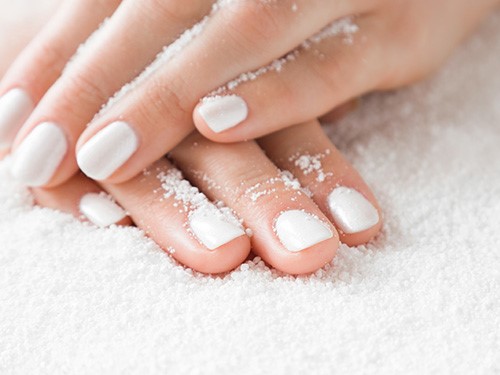
2. «Soft Square» This shape is a square in the base but with smoothed corners. Looks great in both short and medium-sized versions. Such a shape is not as prone to deformation when growing out and does not so clearly indicate the manicure flaws.
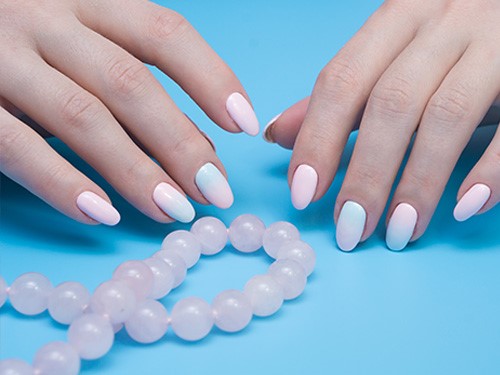
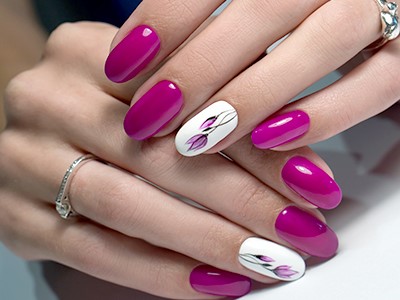
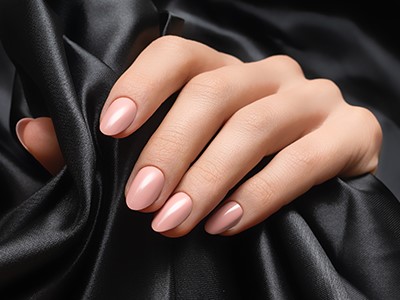
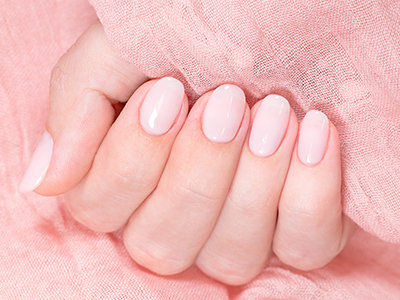
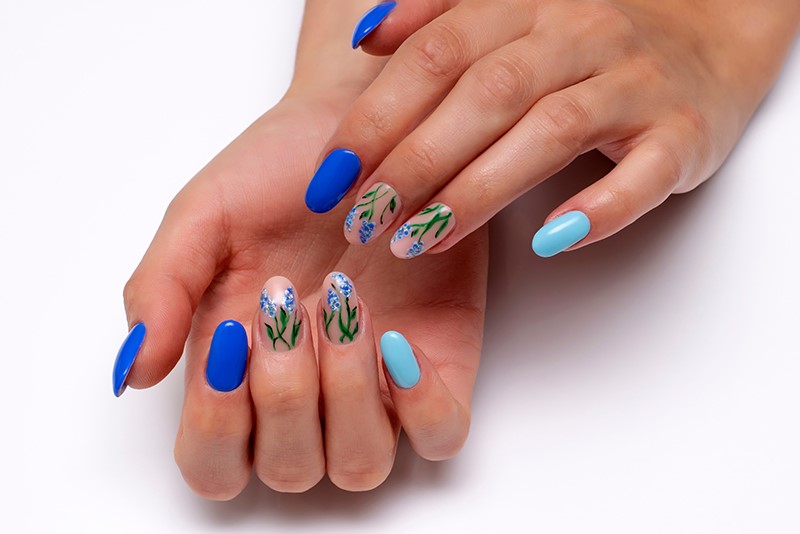
3. «Oval» shape The most classic shape. An oval shape is characterized by parallel lateral lines, equal width of the whole length of the free edge of the nail and rounded tips. This nail shape is universal and will adorn the hands of every woman. Manicure with oval nails looks very refined and feminine.
4. «Almond» shaped nails are cone-shaped, with the lateral nail lines tending towards the centre from the free edge and getting rounded at the tip. Almond shaped nails are at the height of their popularity. The almond shape is the most difficult nail shape to achieve. It's important to get the proportions right and give the tip the perfect pointy look.
5. «Stiletto» shape Characteristic features are very long, cone-shaped nails with straight edges in full-face, tending towards the centre and forming a sharp angle at the top. In profile they are also straight. They resemble daggers in appearance, hence their name.
Exotic forms
1. «Pipe» shape Characteristic features - the same shape as the stiletto nails, but unlike the former, «pipe» nails have a less pronounced angle of inclination of the lateral edges of the free tip, and the tip itself is almond-shaped. When cut, they resemble a tube, hence their name. Suitable for any shape of nail bed. Preferably in long lengths.
2. «Blade» shape Features a free edge in the shape of a triangle at the cut. A straight edge that may widen slightly towards the tip and then abruptly tends to the centre, creating a butterfly wing cutout. The look with these nails is original and creative. Not every nail technician can do this shape, it requires certain skills, knowledge and, of course, patience.
3. Shape «Age» Characteristic features - straight parallel side edges that taper sharply in the middle of the free edge length, forming a sharp angle at the central apex. It is a mix of a square and a stiletto. The shape is quite popular and looks elegant and stylish.
Clearly, these are not all shapes, there are many more and they are very similar to each other, but we have described the most popular ones.
Lengths of extended nail shapes
The length of extended nails varies:
- Short - 2-5 mm (universal and comfortable)
- Medium - 5-10 mm (also universal and the most comfortable).
- long - 10-15 mm
- Very long - more than 15 mm (most often used for competition nails, as the "Soft square" increases the possibility to choose both the shape of the nail and the design on them. In everyday life, these nails are difficult to live with for more than a day - they are still very uncomfortable in everyday life).
How to apply nail extension correctly
Proper nail moulding is one of the most important stages of nail modelling. Not only the appearance of the nails depends on it, but also their strength and even the safety of the natural nail.
Mold application:
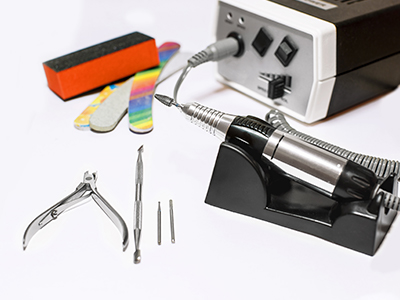
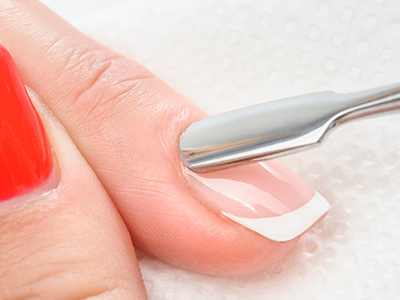
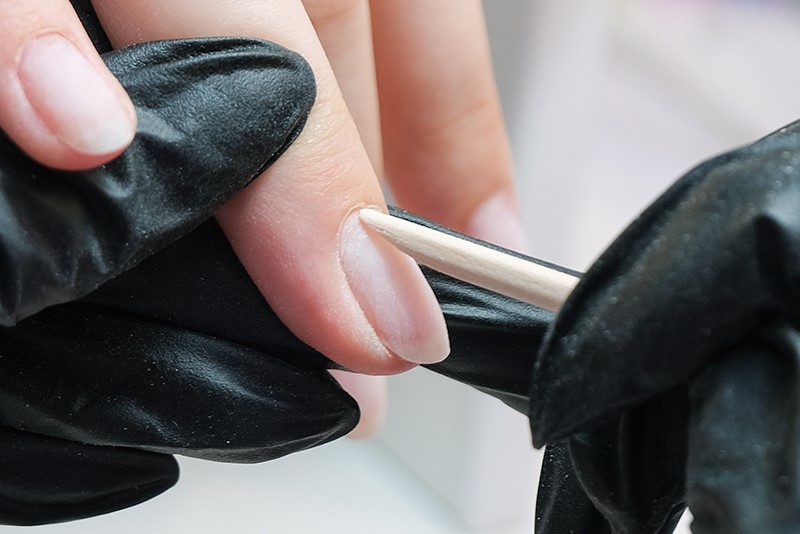
1. To prepare the natural nail for nail extension: push back the cuticle with the pusher, shorten the free edge, remove the shine with a 180 grit file.
2. The second step is to use a soft nail file (e.g. 180 grit) to shape the free edge into a smile line and to remove nail corners in order to make it easier to pinch the nail and to prevent it showing through after the camouflage material has been applied.
3. Preparing the shape. On the inside, glue a metal backing. Using sharp manicure scissors, cut the shape together with the metal backing in accordance with the line of hyponychium growth.
4. Choose a tube to form the arch with the desired diameter - it must not be much narrower or wider than the natural nail. Crimp the surface of the mould with the metal backing precisely in the centre. After this procedure, we fix the ideal symmetrical arch on the form and can start the work.
5. Place the mold on the nail. Make sure that the centre line on the mould is perfectly aligned with the central axis of the finger - it doesn't look to the left or right. Look at the placement of the mould from the side - it should not look down or up. If necessary, the mould can be crimped back together with the metal backing on a tube of the correct diameter.
Indications for the use of extension moulds
- When the client has a strong intolerance to any of the ingredients in the tip glue.
- When the nail plate is too narrow, too flat or too wide, or when the nails are too gnawed and the tips cannot be fitted.
- For very thin natural nails that may crack during filing.
- When the nail is too soft and may cause chipping after the tips have been applied.
- When the nail surface is too deformed and air bubbles are likely to form under the nail extension gel.
Buying extension molds
We think this article has served you well and you've managed to find answers to many questions.
Read also:
1. Brush for gel nail extensions: how to choose?
2. Manicure extractor. Master and client safety
3. Manicure kit steriliser - looking after your customer's health
4. Waxing melter for depilation. Say goodbye to unwanted hairs
Published: 25.03.2022 10:01
Times Read: 4451
