How to DIY Nail Polish in 4 Simple Steps
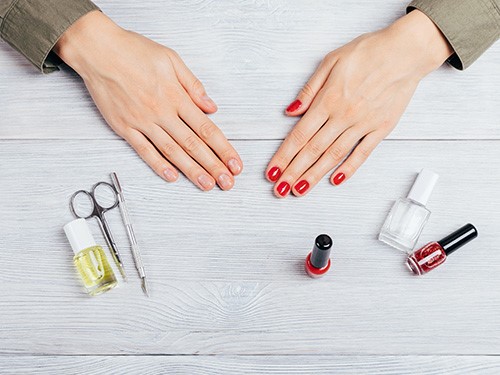
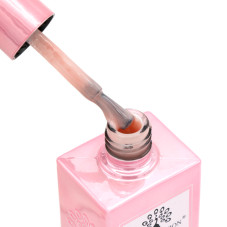
Just when we thought we'd tried every DIY under the sun, along came DIY nail polish. Yep, you read that correctly. Turns out, you can easily create your dream lacquer with a little bit of clear nail polish and eyeshadow. I personally have dozens of eyeshadow palettes with pans of shades I'll never use for my lids, and always wondered if there was a way to use these pigments (I hate waste). Luckily for us, diy nail polish is actually pretty easy to make, so whether you're a seasoned beauty DIY-er or just looking for something new to try, look no further than this step-by-step DIY nail polish tutorial.
Here's What You'll Need:
- Eyeshadow
- Clear Nail Polish (Base Coat or Top Coat)
- Cuticle Pusher
- Paper Funnel (optional)
- Eyeshadow
- Clear Nail Polish (Base Coat or Top Coat)
- Cuticle Pusher
- Paper Funnel (optional)
1. POUR OUT SOME OF THE CLEAR POLISH
If you're working with a brand new bottle of clear nail polish, you'll want to start by pouring out about 1/6 of the polish to make some room for adding the eyeshadow later. If you've used your clear polish a few times and have some room at the top, then there's no need to perform this step.
2. CRUSH UP SOME EYESHADOW
Once you've identified the eyeshadow shade you'd like to repurpose into eyeshadow, we recommend using a cuticle pusher to gently crush the powder. Pressed eyeshadows will come apart fairly easily, so there's no need to use excessive force (just a little bit of pressure). Crush up the eyeshadow until it forms a fine powder, eliminating any large clumps.
3. POUR THE CRUSHED EYESHADOW POWDER INTO YOUR CLEAR NAIL POLISH
Once your eyeshadow is crushed to a fine powder, you can use the same cuticle pusher from step one as a mini shovel to scoop the powder into the nail polish. I found it fairly easy to get the powder into the clear polish with minimal spillage, but you can also make a mini paper funnel using a sticky note if you're worried about making a mess. Regardless, work on top of a cutting board or paper towel, because a little spilling is inevitable.
The amount of eyeshadow you add to your polish is completely up to you. The more powder you add, the more opaque your DIY formula will be. I added the full pan of eyeshadow as seen here, which created an opaque polish. For more sheer color, add about half the pan.
Using base or top coat with a clear container will help build your way to your ideal nail polish opacity. As you add a little bit of powder, do a quick shake of the bottle to see if you've reached your desired hue.
4. SHAKE THE BOTTLE TO MIX
As you add powder to your clear polish, you'll notice that it settles at the bottom of the jar. Once you've added your desired amount of eyeshadow powder, screw the cap on tightly, then shake it up. Your formula should mix in just a couple of seconds. Et voila! You officially have your very own DIY nail polish. If the color is more sheer than you expected, simply add a few more scoops of the eyeshadow.
Regardless of the amount of pigment you added to your polish, this formula should feel less goopy than regular nail polish, which means it's slightly more difficult to control (it spreads faster across your nails as you paint than traditional nail polish). I ended up getting this DIY formula on the skin surrounding my nail, but I just used a small clean-up brush dipped in nail polish remover to clean it up. Other than that, it really looks and feels like store-bought nail polish. Just remember to shake your bottle before each use. Enjoy!
Source : www.byrdie.com
Author: Erin Selletti and Holly Rue
Global Fashion Shop provides you with professional nail care and modeling products.
Other articles:
- Nail base. All its subtleties
- Lacquer and gel polish: what's the difference
- Interesting facts about nails and manicure
- Which manicure suits you?
Published: 06.04.2022 15:01
Times Read: 4298
112 bought
ID: 8102
6,99 £
