Correction of permanent nails. Why do you need it?
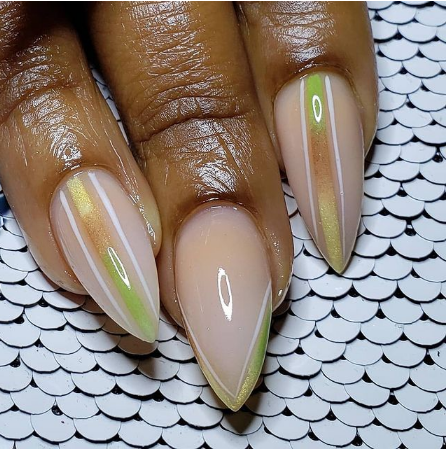
Nail extension technology is being used by every other girl. It's well known that extensions have been popular for quite some time. What is the secret? It's very simple! The beauty of extended nails lies in the fact that the design is kept in perfect condition until the nail plate begins to grow out. This is exactly the moment when the natural nail (near the cuticle zone) becomes visible and the correction is done. Before to answer why you need nail correction, let's try to answer to the other one: what is nail correction?
NAIL CORRECTION. WHAT IS IT AND WHAT IS IT FOR?
Correction is a procedure of adding the nail material to the grown-off part of the nail, near the cuticle, changing the finish to keep the nail airtight, strong and beautifully looking. The performance of the correction is conditioned by the natural growth rate of the natural nail plate (about 2mm/week). It is therefore important to observe a clear time interval between corrections, which is always individual, but on average 20-28 days.
Why do you need a correction?
1. When the nails are worn for a long time, the aesthetics are lost. If you wear your nails longer than it's recommended, it's understood that the aesthetics are lost, and without that it's impossible to talk about well-groomed nails. And besides from the side it's very unattractive.
2. The architecture of the nail is displaced and that can cause nail breakage. With regard to the architecture: when you do nail extensions, the technician builds the nails to look more natural and to last. In doing so, he negates the sides of the material and builds up the highest point - the apex - in the stress zone. When the nail grows back, the apex grows together and our stress zone is exposed, this provokes nail breakage.
3. To avoid the breeding of mould, which can trigger nail fungus, which requires long-term treatment.
TYPES OF CORRECTION
There are small, medium and large corrections.
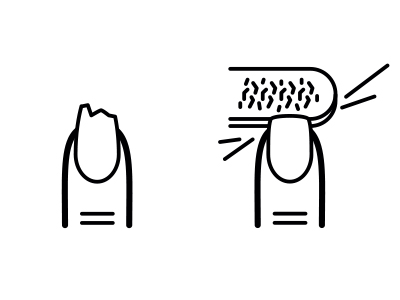
1. Minor correction is applied in case of minor damage to the artificial nails - scratches, chips, chipping, peeling, in general some mechanical damage. This can occur due to careless handling of the artificial nails.
2. The medium correction is necessary in order to even out the difference between the natural nail plate and the artificial nail. The correction is made in the process of the nail growth, usually in 2-4 weeks after the extension procedure or the previous correction.
3. A big correction is performed in case of severe damage of the grown nails, i.e. separation, dislocation, or the big part of the material has been broken. Essentially a new nail extension, because the material is displaced on the grown-off nail, and the architecture of the nail plate changes, up to the point of complete separation.
WHEN NAIL CORRECTION IS NECESSARY. STEPS
Nail correction is necessary in the following cases: If:
- The nails have grown larger than 4 mm.
- Cracked or chipped nails.
- A new nail design is required.
- The material has lost its original characteristics.
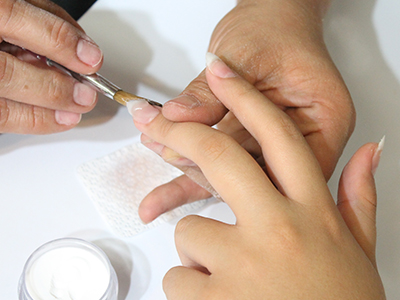
The nail correction itself takes place in several steps:
- Sawing off the top layer of the nail to give it an even surface.
- Correction of the shape and length of the nail.
- Topstitching in the same or new nail design.
- Application of the final layers of extension material.
The aim of the master during the correction is not just to stick a new nail, but to reshape the nail. If it's a French style manicure, the master should correct the position of the smile line and remove the excess length. To prevent the ingrown nail from bending down, the nail plate must be smoothed. The nail must look beautiful on all sides, so it is important for the technician to remove any imperfections so that no traces of the correction are visible.
NAIL CORRECTION TECHNIQUE
The following materials are required for the nail correction procedure:
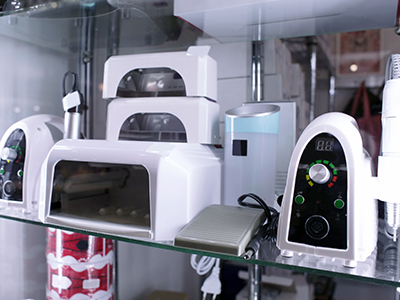
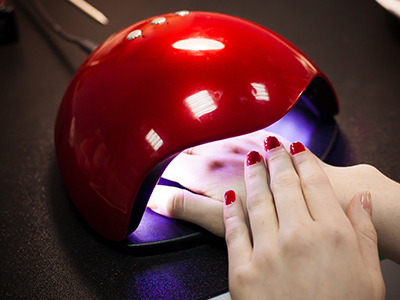
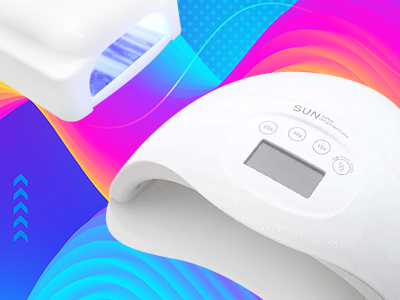
1. UV Lamp.
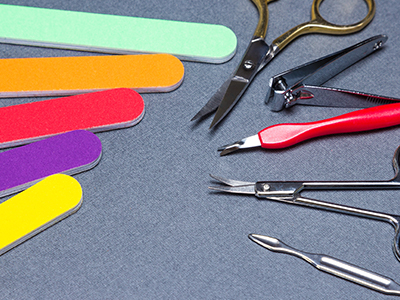
2. A nail kit (several files, clippers, etc.).
3. Antiseptic.
4. Extension kit (helium or acrylic with the material itself, brushes and other necessary things).
Stages of the procedure:
1. It is necessary to wash your hands thoroughly, disinfect them to protect them from harmful substances and dust. If there is nail polish on the nails it must be removed.
2. Then the cuticle is treated. This is done with the help of an exfoliator, which is applied for 2-3 minutes, and then removed with a disinfecting solution.
3. A special abrasive block (approximately 400 grit) is used to remove the natural shine from the natural nail plate.
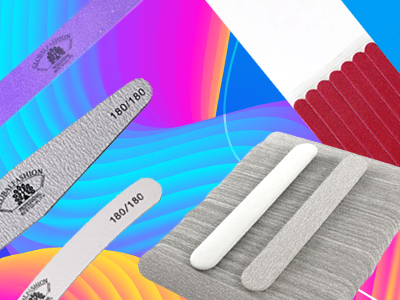
4. The treatment of the artificial material is continued with a 150-180 grit nail file.
5. After that we remove one third of the artificial material in the stress zone and free edge area with a coarser file. In this case the dust is sure to appear, which must be shaken off with a brush.
6. The natural plate is treated with a disinfectant.
7. The modeling material - acrylic or gel - is applied.
8. The artificial surface - gel or acrylic - is treated to a perfect smoothness and shine.
9. The hands are washed and dried again. The boundary between the new and old material must now be sealed to prevent water damage and flaking.
10. If you wish, you can massage and paint on the nails and after it has dried.
PROBLEMS AFTER CORRECTING ARTIFICIAL NAILS
Problem: Nails break all the time
Causes:
- The stress points are in the wrong place. For example, if the stress point is too close to the edge, it weighs down the nail and it can easily be broken.
- The nail is filed too thinly.
- The nail is too long. The length of the artificial nail should match the length of the natural nail. The free edge of the artificial nail must not be longer than the nail bed.
Problem: Flaking of the cuticle area
Cause:
- Poorly brushed nail plate.
- Incorrect nail length and shape.
- Poor removal of artificial nails during nail modification.
Problem: Cracked free nail edge.
Cause:
- Artificial material has been filed too thinly at the edges.
- The edges are not properly covered with artificial material.
- Cracks were not removed during the correction.
- The edges were filed too thin during correction, leaving the nail too narrow. If this happens, the nail must be rebuilt on a template.
In addition to the above, there are a number of other problems and reasons to keep in mind if clients are unhappy with their artificial nails and if the nails fail for some reason. One of the most important things to keep in mind is the condition of the master's tools and the quality of materials used for the correction of artificial nails.
The online shop Global Fashion provides high quality materials for correction of artificial nails.
In order to keep your extensions always look beautiful, make the correction in time and then you will not have to «blush» from the grown nails.
Also it is worth to read:
1. Nail extension with gel. All the nuances
2. Nail extensions with acrylics. All the subtleties
3. How to choose a manicure lamp? Let's understand the nuances!
Published: 28.03.2022 12:56
Times Read: 4258
