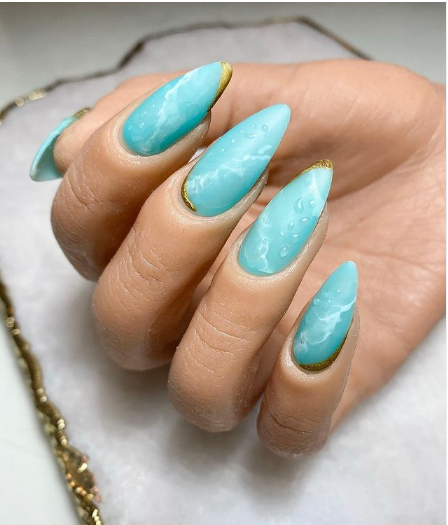
How to Create Water Marble Nails at Home
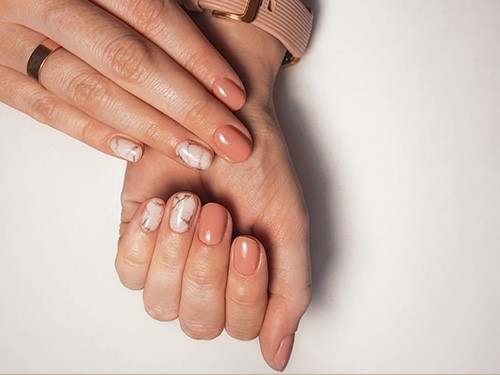
Icymi, the tie-dye trend is alive and well. While we’re head-over-heels for the dreamy pastel swirls and cloudy neutral colorways taking over athleisure on Instagram, as beauty lovers, we can’t help but reimagine the print as a must-try nail look. And, as it turns out, we’re not alone.
Type in #watermarblenails on Instagram and you’ll be met with nearly 60,000 manicures that will make you want to stop what you’re doing and test your hand at the swoon-worthy look. Fortunately, Sarah Gibson Tuttle, the founder and CEO of Olive & June and all-around champion of DIY nail looks shared her top tips for bringing the look to life. So, what’re you waiting for? Keep scrolling to learn how to create water marble nails at home.
MEET THE EXPERT
Sarah Gibson Tuttle is a Los-Angeles based nail expert and the founder of beloved nail salon Olive & June, with locations in Beverly Hills, Pasadena, and Santa Monica.
WHAT ARE WATER MARBLE NAILS?
WHAT YOU'LL NEED
- Nail file.
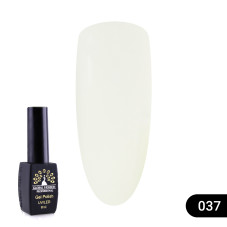
- White nail polish for base layer (we're using this shade).
- Three different nail polish colors for the marble effec.
- Cup of room temperature water.
- Toothpick.
- Nail polish remover.
- Clean-up brush.
- Top coat.
HOW TO CREATE THE PERFECT WATER MARBLE NAIL LOOK
1. PREP YOUR NAILS
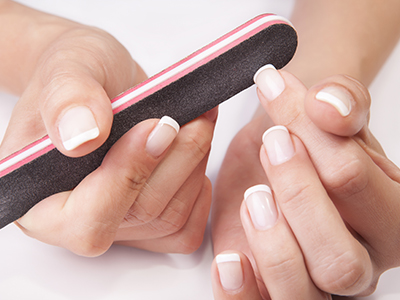
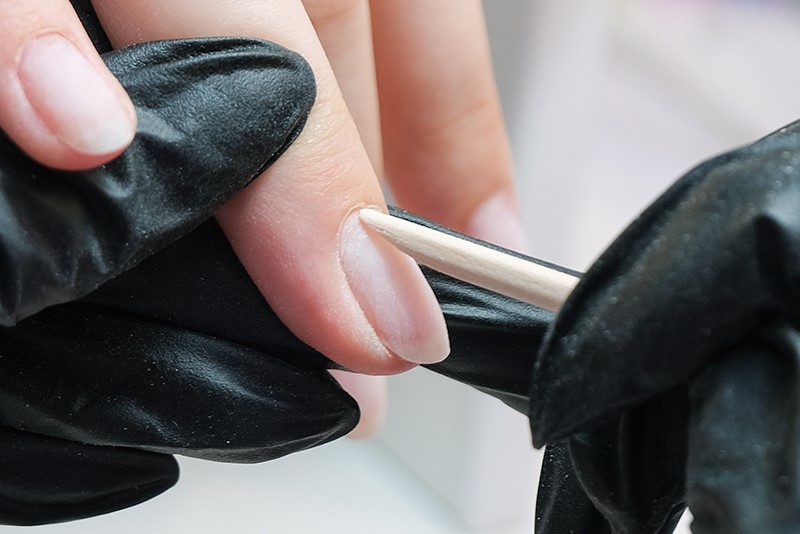
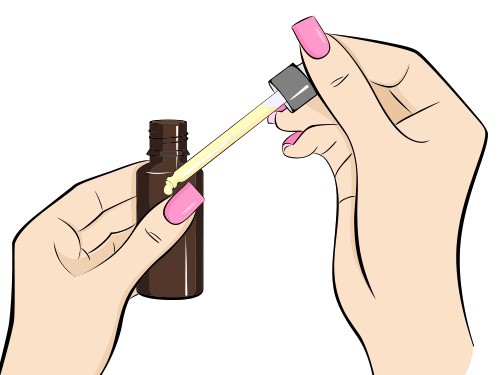
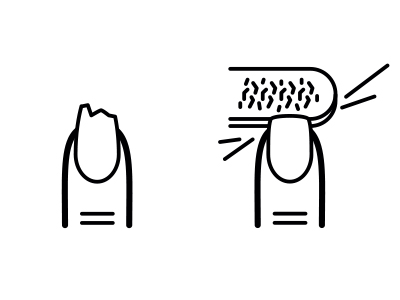
As with any manicure, the first step is prep. Remove any polish that’s already on your nails, file the edges to create the nail shape of your choice, and push your cuticles back. «For perfect cuticles, regularly push your cuticles back after a shower or bath and keep them hydrated—like with our cuticle serum,» Gibson Tuttle suggests. «Consistent cuticle maintenance will ensure they always look their best.»
2. APPLY YOUR BASE COLOR
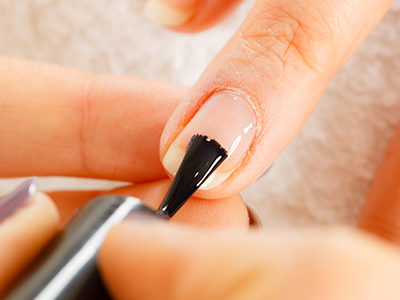
Once your nails are adequately prepped, apply two thin coats of white polish and allow to dry. This will serve as the base for your water marble manicure. And, so long as you use Olive & June’s polishes, you won’t need to start with basecoat since it’s built-in.
3. PREPARE YOUR WATWR MARBLE DESIGN
After your nails have dried, layer dots of your different polish colors in the cup of room temperature water.
4. USING THE TOOTHPICK, SWIRL THE POLISH
Here comes the fun part. Using a toothpick, create a swirl of polish in the water. «This is how the design will look on your nail, so swirl to create your desired effect,» Gibson Tuttle says. «Just remember: For the best-looking swirls, the water should be room temperature. If the water is cold, the polish will start to dry too fast and you won't get the desired effect.»
BYRDIE TIP: While we've chosen neutral colors, you can create water marble nails with any three nail polish colors you'd like. However, we recommend sticking to a similar color family for the best results.
5. DIP YOUR FINGER INTO THE SWIRL
Once your design is swirled to your desire, gently dip your finger into the water so that your nail is covered by the design. Wait a few moments for the polish on the surface of the water to dry and gently lift up your finger. Repeat on all remaining nails. And pro tip: «This is a messy mani,» Gibson-Tuttle exclaims. «If you're looking for easier clean-up, you can try liquid latex around the nail plate or apply extra hand lotion or oil to the skin around the nail to create a barrier and help prevent the polish from sticking to the skin.»
6. CLEAN UP THE EDGES
Once you’ve finished all of your nails and they’ve had a chance to start to dry, use the Clean Up Brush dipped into the Nail Polish Remover Pot to clean up around the nail. Since things can get messy, Gibson Tuttle says to use a cotton swab for any excess polish on the skin, and a clean-up brush for directly around the cuticle and sides of the nail.
7. FINISH WITH TOPCOAT
Once each nail looks picture-perfect, apply a layer of top coat to seal in all that hard work and call it a day.
Source: www.byrdie.com
Author: Rebecca Norris
Global Fashion store offers you professional products for nail care and modeling.
Other articles:
- Nail extension with acrylics. All the subtleties
- Everyday manicure: simplicity and originality in one «bottle»
- Wedding manicure: rules and beautiful nail design
- French manicure. A symbol of femininity
- Bright manicure or «lucious» nail shades
Published: 06.04.2022 16:03
Times Read: 4386
53 bought
ID: 8239
3,99 £
